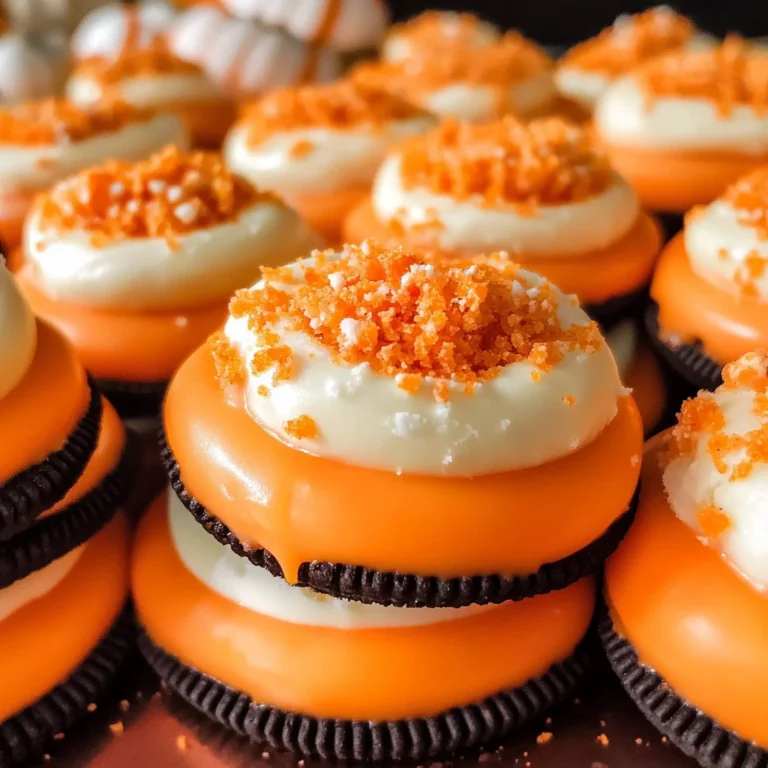
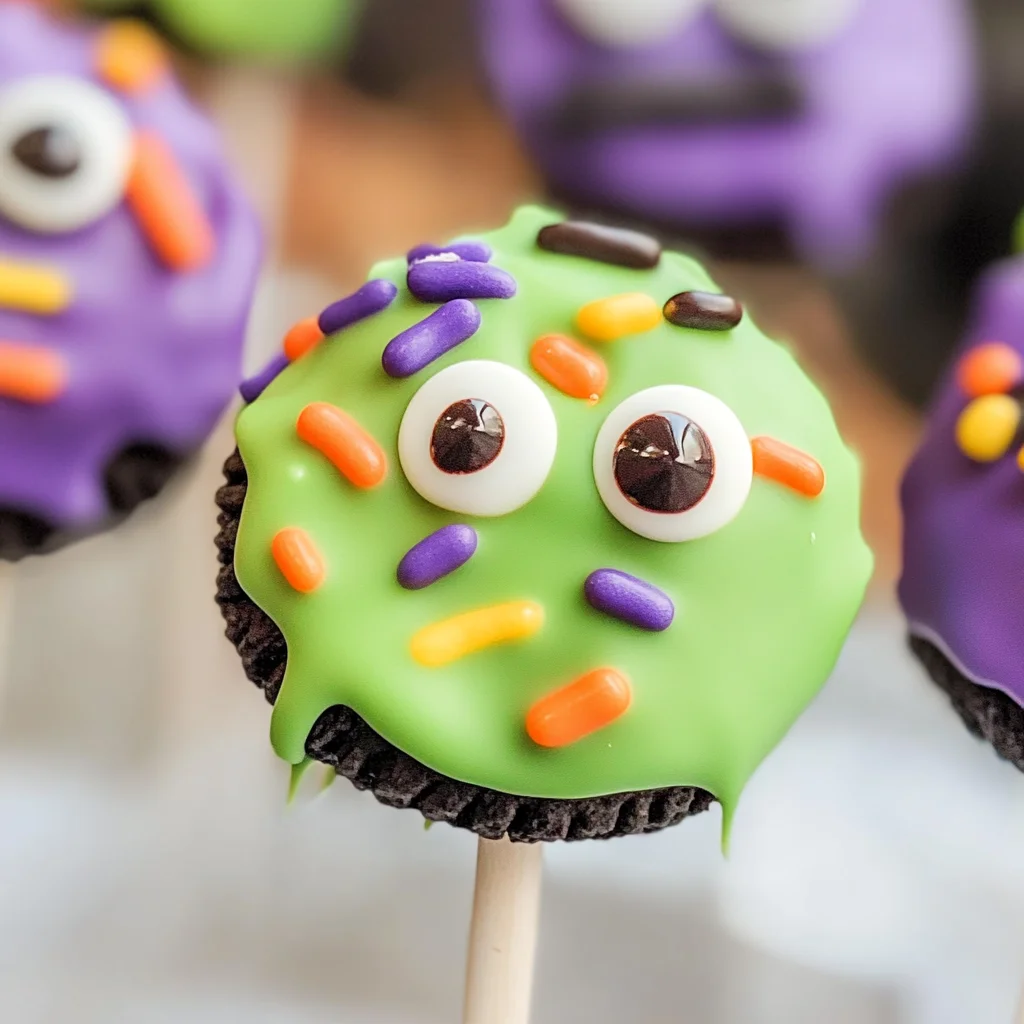
Monster Oreo Pops
If you’re looking for a Halloween treat that’s as fun to make as it is to eat, then these Monster Oreo Pops are just the thing! They’re colorful, playful, and best of all—no baking required! This recipe has become a favorite in my home, especially when we gather with friends and family. The kids love getting involved in the decorating, and it’s such a joy to see their creativity come to life.
These pops aren’t just for Halloween either; they’re perfect for birthday parties, school events, or any festive gathering. With their bright colors and whimsical designs, they are sure to bring smiles all around!
Why You’ll Love This Recipe
- Easy to Make: No baking means you can whip these up quickly—perfect for busy days!
- Family-Friendly Fun: Kids love getting hands-on with the sprinkles and candy eyes.
- Versatile Treats: Customize the colors and designs for any occasion or celebration.
- No-Bake Delight: Great for those who want a delicious dessert without turning on the oven.
Ingredients You’ll Need
Let’s gather our simple, wholesome ingredients! You probably have most of these on hand already. These treats are not only easy to prepare but also use ingredients that kids love!
For the Monster Oreo Pops
- 24 Double Stuffed Oreos
- ½ cup white chocolate melting wafers
- 12 ounces green candy melts
- 12 ounces purple candy melts
- 12 ounces orange candy melts
- 3 Tablespoons Crisco shortening (divided)
- Green, purple, and orange jimmy sprinkles (long not round)
- Candy eyes (multiple sizes)
- 24 Cake pop sticks
Variations
This Monster Oreo Pops recipe is super flexible! Feel free to get creative with flavors and colors.
- Change Up the Colors: Use different colored candy melts like pink or blue for a unique twist!
- Swap the Sprinkles: Try using crushed candies or edible glitter instead of traditional sprinkles.
- Add Flavors: Mix in some flavored extracts like vanilla or mint into your melted chocolate for an extra kick.
- Make Them Smaller: For bite-sized treats, use mini Oreos and shorter cake pop sticks.
How to Make Monster Oreo Pops
Step 1: Prepare the Sticks
Take each cake pop stick and gently poke a hole about ½ inch deep into the Oreo filling. This step is essential because it helps secure the stick into the cookie without breaking it. Be gentle!
Step 2: Melt the White Chocolate
Add white chocolate melting wafers to a small microwave-safe bowl. Heat on 50% power for 1 minute, then stir and continue heating in 30-second bursts until it’s nice and silky smooth. This melted chocolate will act as glue for your cake pop sticks!
Step 3: Attach the Sticks
Dip about ½ inch of each cake pop stick into the melted chocolate. Then place this chocolate-dipped tip into the hole you made earlier. Repeat this step for each Oreo and let them rest until the chocolate hardens—this will keep everything together nicely.
Step 4: Melt Your Colored Candy Wafers
In deep microwave-safe containers (like glass tumblers), add your colored candy melts. Heat on defrost mode or at 50% power for 1 minute, stirring well after each burst. Add 1 tablespoon of Crisco to each container to achieve that perfect dipping consistency.
Step 5: Dip the Oreos
Carefully dip each Oreo into the melted candy coating until fully covered. Work that cake pop stick side to side gently while dipping so that every corner gets coated! Allow any excess chocolate to drip off before moving on.
Step 6: Decorate Your Monster Pops
Immediately sprinkle your long jimmy sprinkles and add candy eyes while the coating is still wet. Get creative here—each monster can have its own goofy face!
Step 7: Chill Before Serving
Finally, place your decorated monster pops upright in a cake pop stand or another holder. Let them chill in the refrigerator for about 30 minutes before serving; this helps set everything perfectly!
Now you’re ready to enjoy these delightful Monster Oreo Pops with family and friends!
Pro Tips for Making Monster Oreo Pops
Creating these delightful Monster Oreo Pops can be even more enjoyable with a few handy tips!
-
Use fresh ingredients: Make sure your Oreos and candy melts are fresh. This ensures the best taste and texture, making your pops even more irresistible.
-
Control the temperature: When melting the candy wafers, keep an eye on the temperature to avoid burning. Low, consistent heat will give you that silky finish we all love!
-
Experiment with designs: Feel free to get creative with your decorations! Mix and match sprinkles and candy eyes to create unique monster faces that reflect your personality.
-
Chill before serving: Allowing the pops to set in the refrigerator not only helps them harden but also makes them easier to handle when serving.
-
Use a cake pop stand: This prevents your decorated pops from touching each other, preserving their designs and ensuring they look fabulous when served.
How to Serve Monster Oreo Pops
These Monster Oreo Pops are perfect for any Halloween gathering or spooky-themed party. Presenting them creatively can add a festive flair that everyone will enjoy!
Garnishes
- Chocolate drizzle: For an extra touch of sweetness, drizzle some melted chocolate over the top of the pops before adding eyes and sprinkles.
- Colored sugar: Dusting with colored sugar can enhance the festive look of your monster pops and add a crunchy texture contrast.
Side Dishes
- Fruit skewers: Fresh fruit on skewers can provide a refreshing contrast to the sweet pops. Use vibrant fruits like strawberries, grapes, and melon for a colorful addition.
- Veggie platter: A simple veggie platter with hummus or ranch dip offers a healthy option that balances out the sweetness of the Monster Oreo Pops.
- Popcorn mix: Create a Halloween-themed popcorn mix with popcorn, candy corn, and nuts for a crunchy snack that pairs well with these sweet treats.
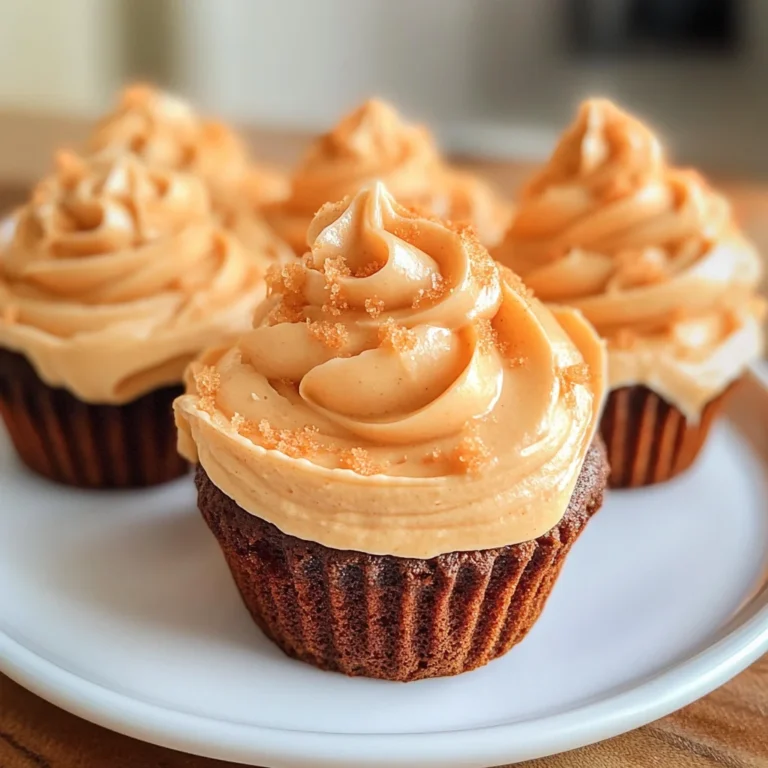
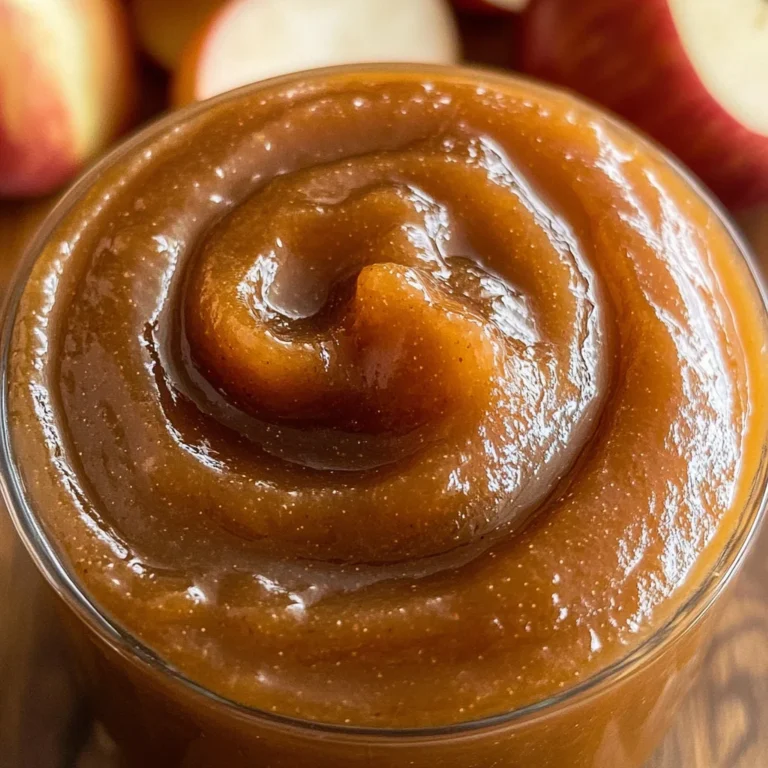
- Apple slices with caramel dip: The crispness of apples combined with gooey caramel creates a delicious side that complements the rich flavors of your Monster Oreo Pops perfectly.
With these serving suggestions, you’ll be ready to impress your guests at any gathering! Enjoy making and sharing these fun treats!

Make Ahead and Storage
These Monster Oreo Pops are not only a fun treat to make but also a great option for meal prep. They can be made ahead of time and stored, making them perfect for parties or festive gatherings!
Storing Leftovers
- Store any uneaten Monster Oreo Pops in an airtight container at room temperature for up to 3 days.
- If the room is particularly warm, consider refrigerating them to keep the chocolate from melting.
Freezing
- You can freeze your Monster Oreo Pops for up to 2 months.
- Place them in a single layer on a baking sheet and freeze until solid, then transfer to an airtight container or freezer bag.
- When ready to enjoy, thaw them in the refrigerator overnight before serving.
Reheating
- There’s no need to reheat these treats! Simply let them sit at room temperature for about 10 minutes before serving if they were refrigerated or frozen.
FAQs
Here are some common questions you might have about making Monster Oreo Pops.
Can I use different types of Oreos for Monster Oreo Pops?
Absolutely! Feel free to experiment with various flavors of Oreos. The technique remains the same, and different flavors can add a unique twist!
How do I make my Monster Oreo Pops look even more festive?
To give your Monster Oreo Pops a special touch, try using edible glitter or colored drizzles in addition to sprinkles. Your creativity is the limit!
Are Monster Oreo Pops suitable for kids?
Yes! These pops are fun and easy to make with kids, plus they can help decorate their own monsters. Just be mindful of any allergies when choosing candies.
How long do Monster Oreo Pops last?
When stored properly, Monster Oreo Pops can last up to 3 days at room temperature or up to 2 months in the freezer, making them great for advance preparation!
Final Thoughts
I hope you enjoy making these delightful Monster Oreo Pops as much as I do! They’re perfect for Halloween parties or just as a fun dessert for any occasion. With their vibrant colors and whimsical designs, they’re sure to bring smiles to everyone’s faces. Happy snacking, and don’t hesitate to share your creations!
Monster Oreo Pops

Indulge in the whimsical world of Monster Oreo Pops—an easy, no-bake treat that’s perfect for Halloween and any festive occasion! These colorful cookie pops are a delightful way to unleash your creativity while making a fun dessert with the kids. With vibrant candy coatings and playful decorations, these treats are sure to be a hit at birthday parties, school events, or simply as an imaginative snack at home. Get hands-on in the kitchen as you dip, decorate, and create your very own monster masterpieces that everyone will love!
- Prep Time: 20 minutes
- Cook Time: 10 minutes
- Total Time: 30 minutes
- Yield: 24 servings 1x
- Category: Dessert
- Method: No-Bake
- Cuisine: American
Ingredients
- 24 Double Stuffed Oreos
- ½ cup white chocolate melting wafers
- 12 ounces green candy melts
- 12 ounces purple candy melts
- 12 ounces orange candy melts
- 3 tablespoons Crisco shortening (divided)
- Green, purple, and orange jimmy sprinkles
- Candy eyes (various sizes)
- 24 cake pop sticks
Instructions
- Prepare the cake pop sticks by gently poking a hole about ½ inch deep into the Oreo filling.
- Melt white chocolate melting wafers in a microwave-safe bowl on low power until smooth.
- Dip each cake pop stick into melted chocolate and insert it into the prepared Oreos. Let them rest until the chocolate hardens.
- In separate containers, melt colored candy melts with Crisco until smooth.
- Dip each Oreo into the melted candy until fully coated; allow excess to drip off.
- While still wet, decorate with sprinkles and candy eyes to create fun monster faces.
- Place pops upright to chill in the refrigerator for about 30 minutes before serving.
Nutrition
- Serving Size: 1 serving
- Calories: 150
- Sugar: 15g
- Sodium: 60mg
- Fat: 8g
- Saturated Fat: 4g
- Unsaturated Fat: 4g
- Trans Fat: 0g
- Carbohydrates: 18g
- Fiber: 0g
- Protein: 1g
- Cholesterol: 0mg