Nutter Butter Mummies
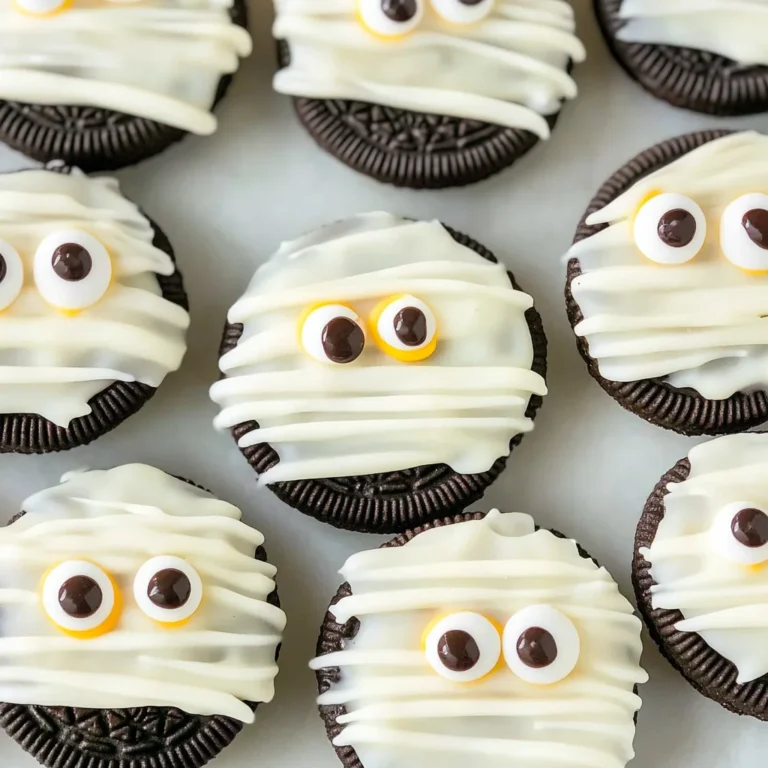
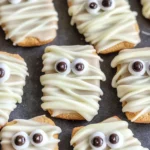
If you’re looking for a fun and adorable treat that’s perfect for Halloween or any festive gathering, you’ll love making Nutter Butter Mummies! These little goodies are not only cute but also incredibly easy to whip up. Picture this: crunchy peanut butter cookies wrapped in creamy white chocolate, topped off with candy eyes that give them a spooky personality. They’re sure to bring smiles to kids and adults alike!
What makes this recipe even more special is how simple it is. You can whip these Nutter Butter Mummies together in just 20 minutes, making them a fantastic option for busy weeknights or last-minute gatherings. Plus, they’re a delightful addition to any dessert table, ready to impress your family and friends!
Why You’ll Love This Recipe
- Quick and Easy: With just four ingredients, you can have these mummies ready in no time!
- Family-Friendly Fun: Kids will love helping to decorate their own mummies with candy eyes.
- Perfect for Any Occasion: Whether it’s Halloween or a casual get-together, these treats fit right in.
- Make Ahead Option: Prepare them in advance and store them for a sweet surprise later.
- Deliciously Cute: Who can resist the combination of peanut butter and white chocolate?
Ingredients You’ll Need
Gathering the ingredients for these Nutter Butter Mummies is as straightforward as it gets! You probably already have most of them on hand. Here’s what you’ll need:
For the Treats
- 8 Nutter Butter Cookies
- 1 (12 oz) bag White Chocolate Chips
- 16 Candy Eyes
Variations
One of the best things about Nutter Butter Mummies is how flexible the recipe can be! Feel free to get creative and try out some fun variations:
- Add Some Color: Use colored melting chocolate instead of white chocolate for a vibrant twist.
- Sprinkle Some Fun: Add festive sprinkles on top of the melted chocolate before it hardens.
- Go Nut-Free: Substitute peanut butter cookies with your favorite nut-free cookies for an allergy-friendly option.
- Make Them on Sticks: Insert popsicle sticks into the cookies before dipping for easy handling!
How to Make Nutter Butter Mummies
Step 1: Prepare Your Workspace
Start by laying down parchment paper on your countertop. This will keep your surface clean and make cleanup a breeze once your mummies are ready!
Step 2: Melt the White Chocolate
In a small microwave-safe bowl, melt the white chocolate chips. Heat them in short bursts of 30 seconds, stirring in between, until smooth. Melting the chocolate properly ensures it coats the cookies evenly.
Step 3: Dip the Cookies
Take a Nutter Butter cookie and dunk it into the melted chocolate. Tap off any excess chocolate against the side of the bowl. Place it on your parchment paper and immediately add two candy eyes while the chocolate is still wet. This helps them stick better!
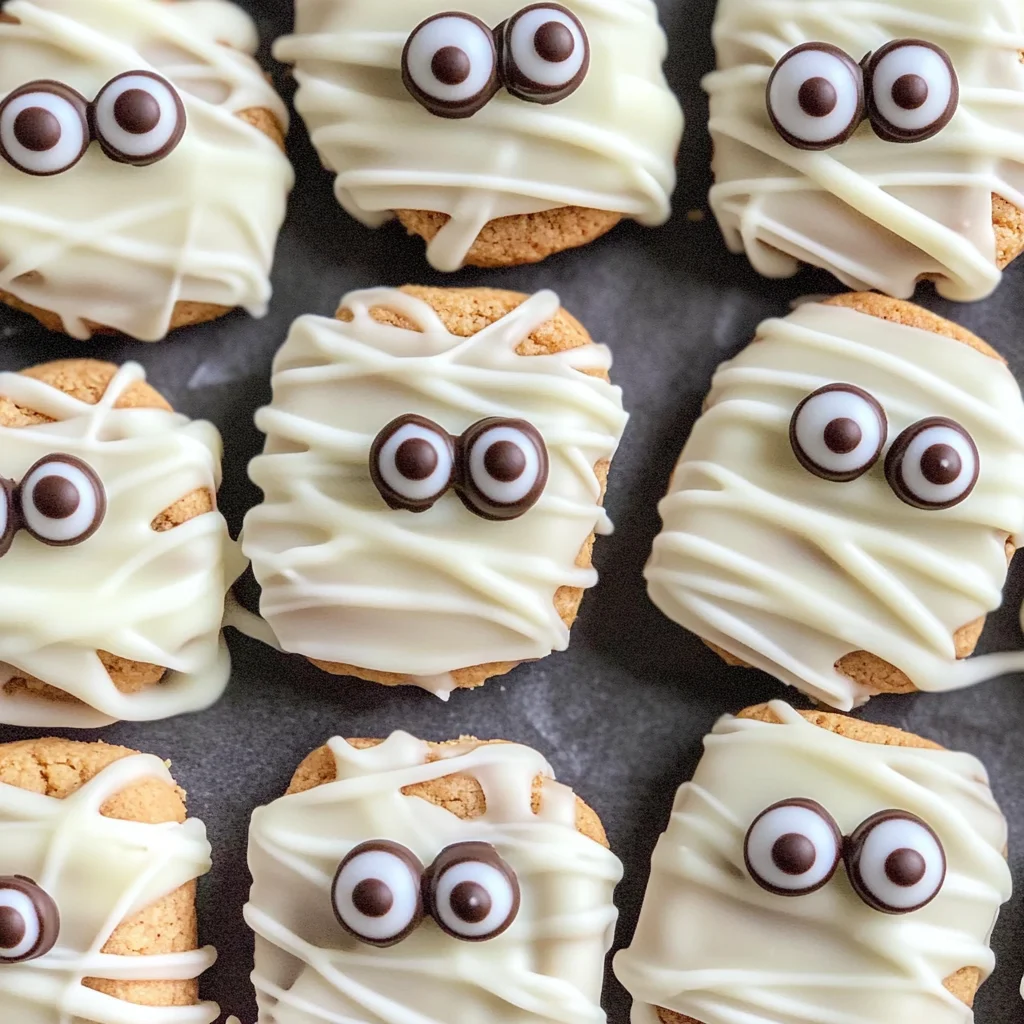
Step 4: Create Mummy Wrappings
Once all your cookies are dipped and adorned with eyes, melt any remaining chocolate again. Drizzle this over each cookie to create mummy-like bandages. Let everything harden completely before serving.
Now you’ve got adorable Nutter Butter Mummies that are sure to be a hit at your next gathering! Enjoy making these wonderful treats with friends and family—they’re bound to become a cherished tradition!
Pro Tips for Making Nutter Butter Mummies
Creating adorable Nutter Butter Mummies is a fun and simple process, especially with these helpful tips!
-
Use High-Quality Chocolate: Choosing good quality white chocolate will ensure a smoother melt and richer flavor, making your mummies even more delightful.
-
Keep Your Workspace Clean: A tidy countertop helps you work efficiently and keeps your mummies looking their best without any messy drips.
-
Let the Chocolate Harden Completely: Allowing the chocolate to fully set before adding the mummy drizzle ensures that your design stays intact and looks professional.
-
Experiment with Colors: While classic white chocolate is great, you can also use colored candy melts to create vibrant variations of your mummies for a fun twist!
-
Get Creative with Sticks: If you want to turn these into pops, inserting a popsicle stick before the chocolate hardens adds a fun, portable element to your treats!
How to Serve Nutter Butter Mummies
Serving Nutter Butter Mummies can be as creative as making them! Here are some fun ideas to present these spooky treats at your Halloween gathering.
Garnishes
- Sprinkles: Add colorful sprinkles on top of the melted white chocolate for an extra festive touch that kids will love.
- Chocolate Drizzle: Use dark or milk chocolate for a contrasting drizzle over the white chocolate mummy, enhancing both flavor and appearance.
Side Dishes
-
Pumpkin Spice Popcorn: This sweet and savory treat brings a crunchy texture that complements the soft cookies while capturing the essence of fall.
-
Caramel Apple Slices: Fresh apple slices dipped in caramel provide a refreshing contrast to the rich Nutter Butter Mummies, making for a balanced dessert table.
-
Ghostly Banana Bites: Slice bananas and dip them in white chocolate to make ghostly bites that pair perfectly with your mummies and add some healthy fruit to the mix.
-
Witch’s Brew Fruit Punch: A vibrant fruit punch can be a fun addition to your Halloween spread. It’ll keep everyone refreshed while enjoying their spooky snacks!
Make Ahead and Storage
These Nutter Butter Mummies are perfect for meal prep! You can whip them up in advance for a Halloween party, school event, or just for a fun snack at home. Here’s how to keep them fresh:
Storing Leftovers
- Store your Nutter Butter Mummies in an airtight container at room temperature for up to 3 days.
- If you want to keep them longer, refrigerate them in the same airtight container.
Freezing
- To freeze, place the Nutter Butter Mummies in a single layer on a baking sheet and freeze until solid.
- Once frozen, transfer them to a freezer-safe container or bag, separating layers with parchment paper.
- They can be stored in the freezer for up to 2 months.
Reheating
- These treats are best enjoyed at room temperature, so simply take out what you need and let them sit for about 15 minutes before serving.
- Avoid reheating in a microwave as this can affect the texture of the chocolate coating.
FAQs
If you have any questions about making Nutter Butter Mummies, you’re not alone! Here are some common inquiries:
Can I use different types of chocolate for Nutter Butter Mummies?
Absolutely! While white chocolate gives that classic mummy look, you can use milk or dark chocolate if you prefer. Just remember that melting times may vary.
How do I make Nutter Butter Mummies without candy eyes?
If you can’t find candy eyes, feel free to use small chocolate chips or even mini marshmallows as eyes. Just secure them with a bit of melted chocolate!
What occasions are best for serving Nutter Butter Mummies?
Nutter Butter Mummies are perfect for Halloween parties, school events, or just as a fun dessert for family movie nights. Their cute design makes them a hit with both kids and adults!
Can I put Nutter Butter Mummies on popsicle sticks?
Yes! Adding popsicle sticks is a fun twist that makes these treats easy to hold and eat. Just insert the sticks after dipping the cookies in chocolate.
How long does it take to make Nutter Butter Mummies?
This recipe takes only about 20 minutes from start to finish, making it an easy and quick treat to create!
Final Thoughts
I hope you enjoy making these adorable and delicious Nutter Butter Mummies! They’re not just festive but also super easy to prepare. Whether you’re sharing them at a gathering or keeping them all to yourself (no judgment here!), I’m sure they’ll bring smiles all around. Happy baking, and enjoy every bite of these spooky delights!
Nutter Butter Mummies
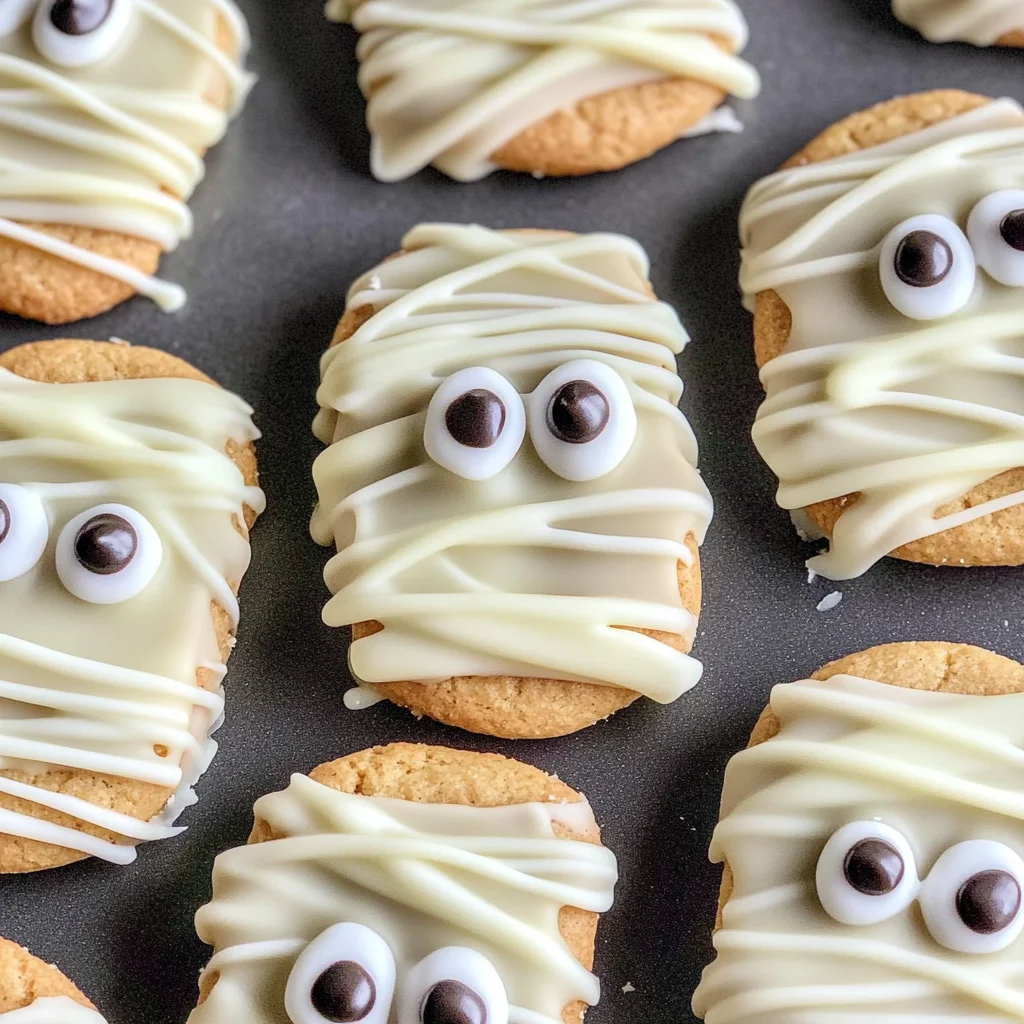
If you’re on the hunt for a delightful and fun treat that will impress at any festive gathering, look no further than Nutter Butter Mummies! These charming snacks combine crunchy peanut butter cookies dipped in creamy white chocolate, topped with candy eyes for an adorable twist. Perfect for Halloween or casual get-togethers, these mummies are quick to prepare—ready in just 20 minutes. Kids can join in the fun by helping to decorate their own spooky treats, making this recipe a fantastic way to create lasting memories. With simple ingredients and easy steps, you’ll have a sweet addition to your dessert table that’s bound to bring smiles all around.
- Prep Time: 10 minutes
- Cook Time: 10 minutes
- Total Time: 20 minutes
- Yield: Makes 8 servings 1x
- Category: Dessert
- Method: No-bake
- Cuisine: American
Ingredients
- 8 Nutter Butter Cookies
- 1 (12 oz) bag White Chocolate Chips
- 16 Candy Eyes
Instructions
- Prepare your workspace by laying parchment paper on your countertop.
- Melt the white chocolate chips in a microwave-safe bowl, heating in short bursts until smooth.
- Dip each Nutter Butter cookie into the melted chocolate, tapping off excess before placing it on parchment paper. Add two candy eyes while the chocolate is still wet.
- Drizzle remaining melted chocolate over cookies to create mummy bandages. Allow to harden completely before serving.
Nutrition
- Serving Size: 1 cookie
- Calories: 150
- Sugar: 10g
- Sodium: 30mg
- Fat: 7g
- Saturated Fat: 4g
- Unsaturated Fat: 3g
- Trans Fat: 0g
- Carbohydrates: 20g
- Fiber: 1g
- Protein: 2g
- Cholesterol: 0mg